
Easy Pita Bread Recipe No Oven
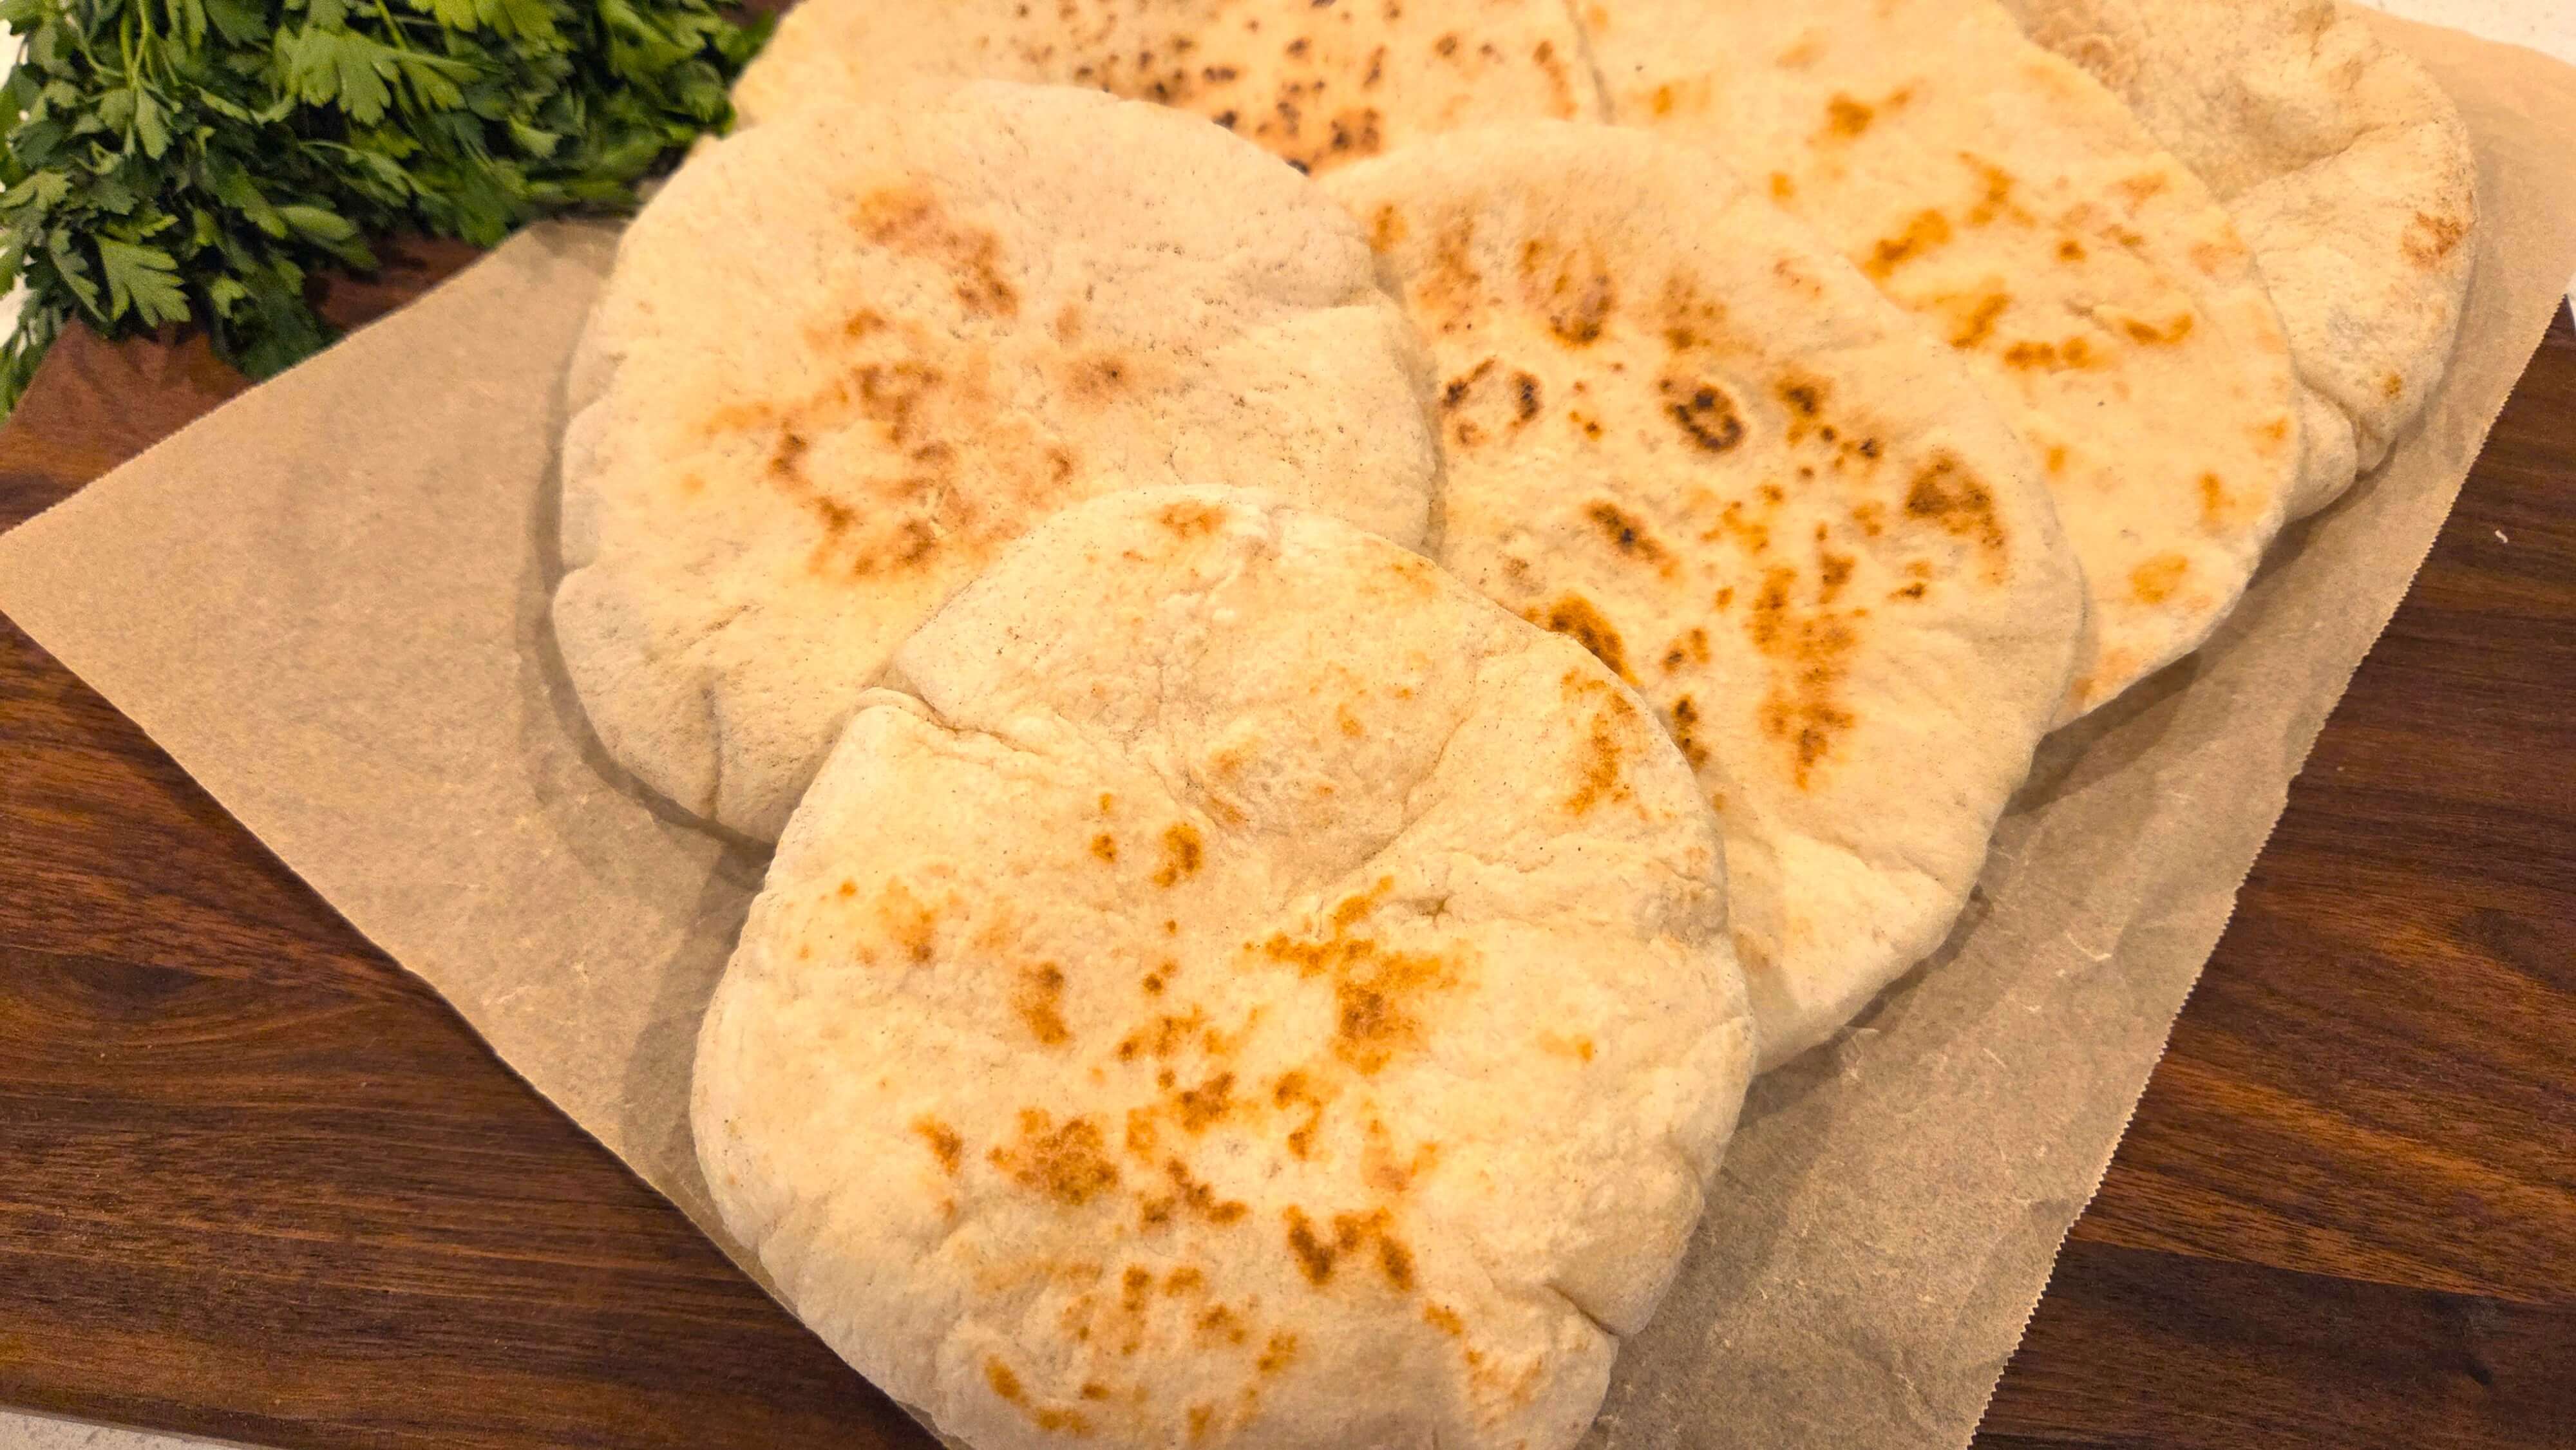
There’s something so comforting about the smell of fresh, warm bread in the kitchen. If you love soft, fluffy pita but don’t want to turn on the oven, this Easy Pita Bread Recipe No Oven is the simple stovetop method I make at home. You only need three basic ingredients—flour, yeast, and warm water—to make homemade pita that cooks right in a hot skillet.
Growing up in Cairo, I loved stopping by the local bakery in the morning for a warm stack of Aish Baladi, the rustic Egyptian flatbread I grew up eating. It was soft, freshly baked, and perfect for opening up and filling with hot falafel, creamy hummus, or a generous scoop of garlicky ful medames with olive oil.
When I started cooking for my own family, I wanted to recreate that fresh-bakery feeling without heating up the kitchen with a hot oven. After testing different doughs and skillet temperatures, I found a simple stovetop method that gives the pita enough heat to puff into a soft pocket while keeping the bread tender.
In this recipe, I’ll show you exactly how to mix, rest, roll, and cook the dough so you can make soft homemade pita bread without an oven. It’s beginner-friendly, requires just three main ingredients, and is ready in about 30 minutes.
Why You’ll Love This Easy Pita Bread Recipe No Oven
If you want soft, fluffy pita without turning on the oven, this stovetop method is such a simple option for busy days. I love making it when my family wants fresh bread with dinner because the dough comes together quickly and the pita cooks right in a hot skillet.
- No oven needed: Cook the pita completely on the stovetop using a hot skillet. It’s especially handy during warm weather or when you simply don’t want to heat up the kitchen.
- Only 3 main ingredients: All you need for the basic dough is flour, yeast, and warm water. Salt is optional if you want to add extra flavor.
- Soft, fluffy pockets: Rolling the dough evenly and cooking it on a properly heated skillet helps steam build inside, creating the characteristic pocket as the pita puffs.
- Stays soft after cooking: Wrapping the warm pita in a clean kitchen towel helps retain moisture and keeps the bread soft and pliable instead of letting it dry out.
- Dairy-free and plant-based: The basic recipe contains no butter, milk, or other dairy ingredients, making it an easy option to serve alongside Mediterranean and Egyptian dishes.
Simple Ingredients for Stovetop Pita Bread
You only need a few simple ingredients to make these soft, fluffy pita breads on the stovetop. Here’s what I use and why each ingredient matters:
- All-Purpose Flour: Regular all-purpose flour works well for this recipe and gives the pita a soft, tender texture. Keep a little extra flour nearby for dusting your work surface and rolling the dough.
- Instant Dry Yeast: Instant yeast can be mixed directly into the flour, making it convenient for this quick pita recipe. It helps the dough rise and gives the bread its light, airy texture.
- Warm Water: Use about 110°F (43°C) water. It should feel warm rather than hot to the touch. Water that is too hot can damage the yeast, while very cool water can slow the rising process.
- Salt (Optional): I like adding 1 teaspoon of salt because it brings out the flavor of the flour and gives the pita a more balanced taste. You can leave it out if you prefer a salt-free version.
How to Make Pita Bread Without an Oven Step by Step
Making homemade pita on the stovetop is easier than you might think. Follow these simple steps to mix, rest, knead, roll, and cook the dough until it puffs into soft pita pockets right in your skillet.
- Mix the ingredients and form the dough
In a large mixing bowl, combine 2¼ cups all-purpose flour, 1 tablespoon instant dry yeast, and the optional salt. Pour in 1 cup of warm water and stir with a wooden spoon until the ingredients come together into a soft, shaggy dough.
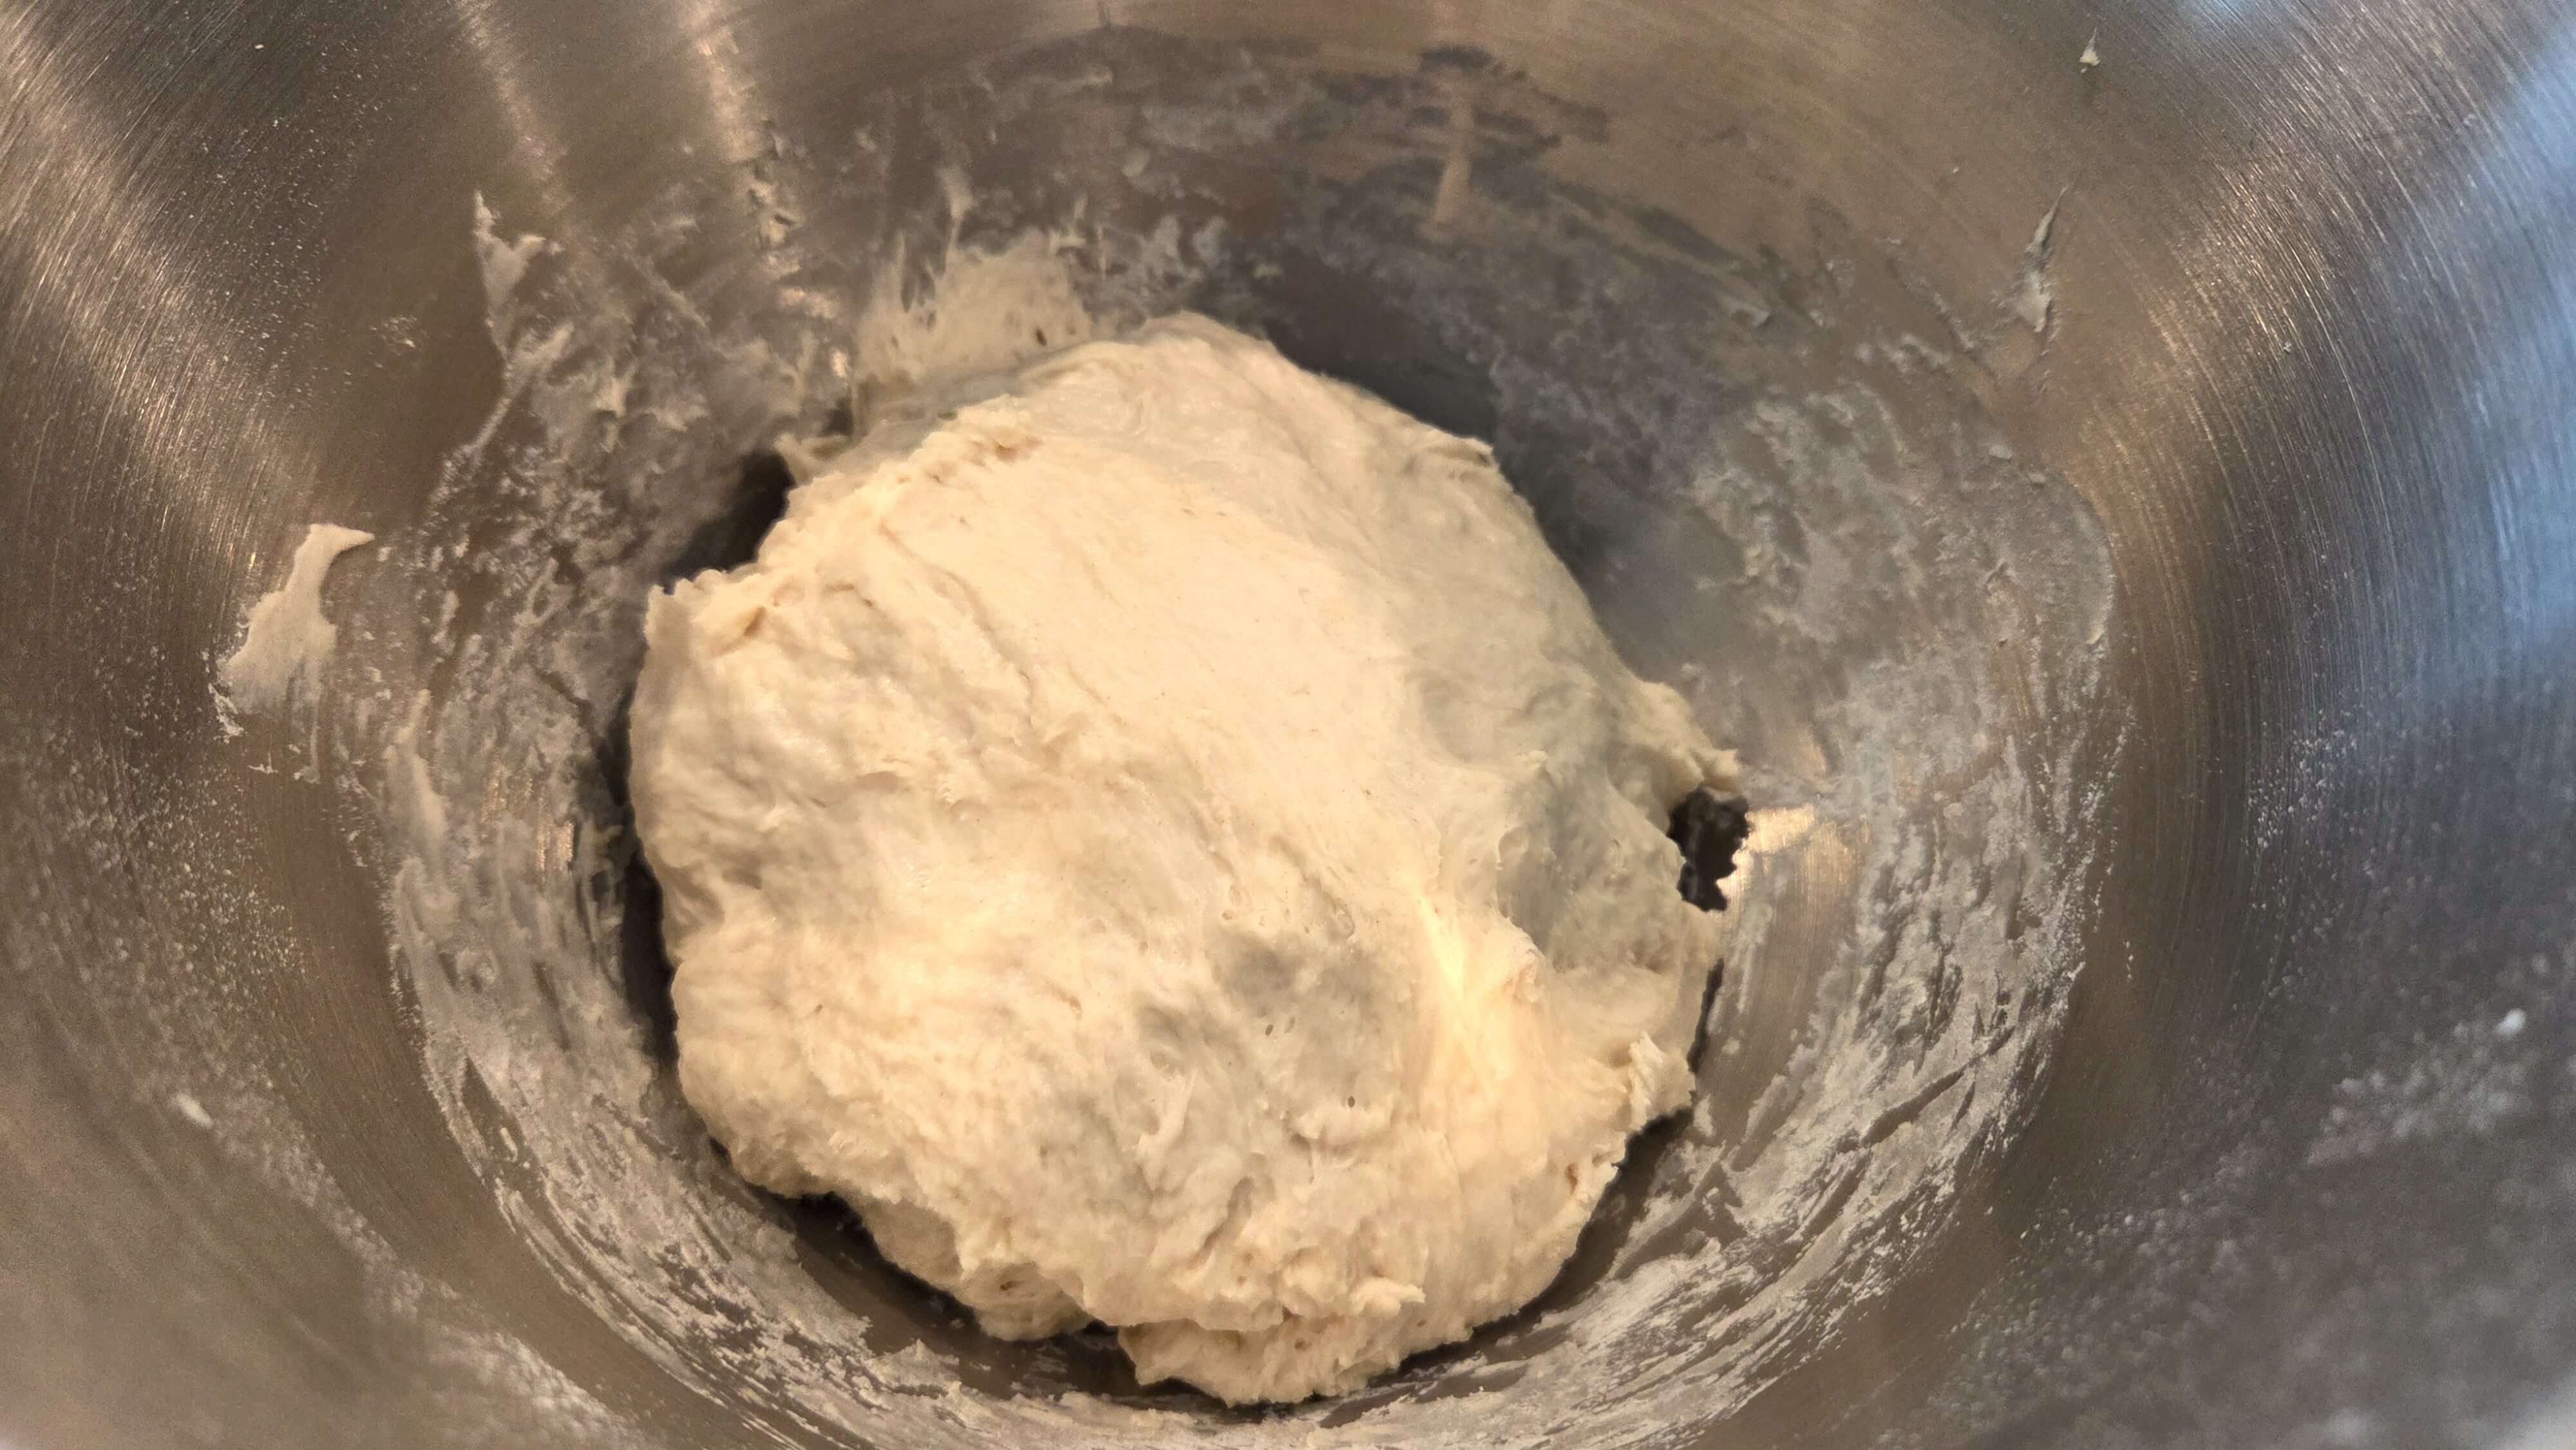
- Let the dough rest
Shape the dough into a rough ball in the bowl, then cover it with a clean kitchen towel or plastic wrap. Let it rest at room temperature for 15 minutes.
This short rest gives the flour time to hydrate and allows the dough to relax, which makes it easier to knead and roll.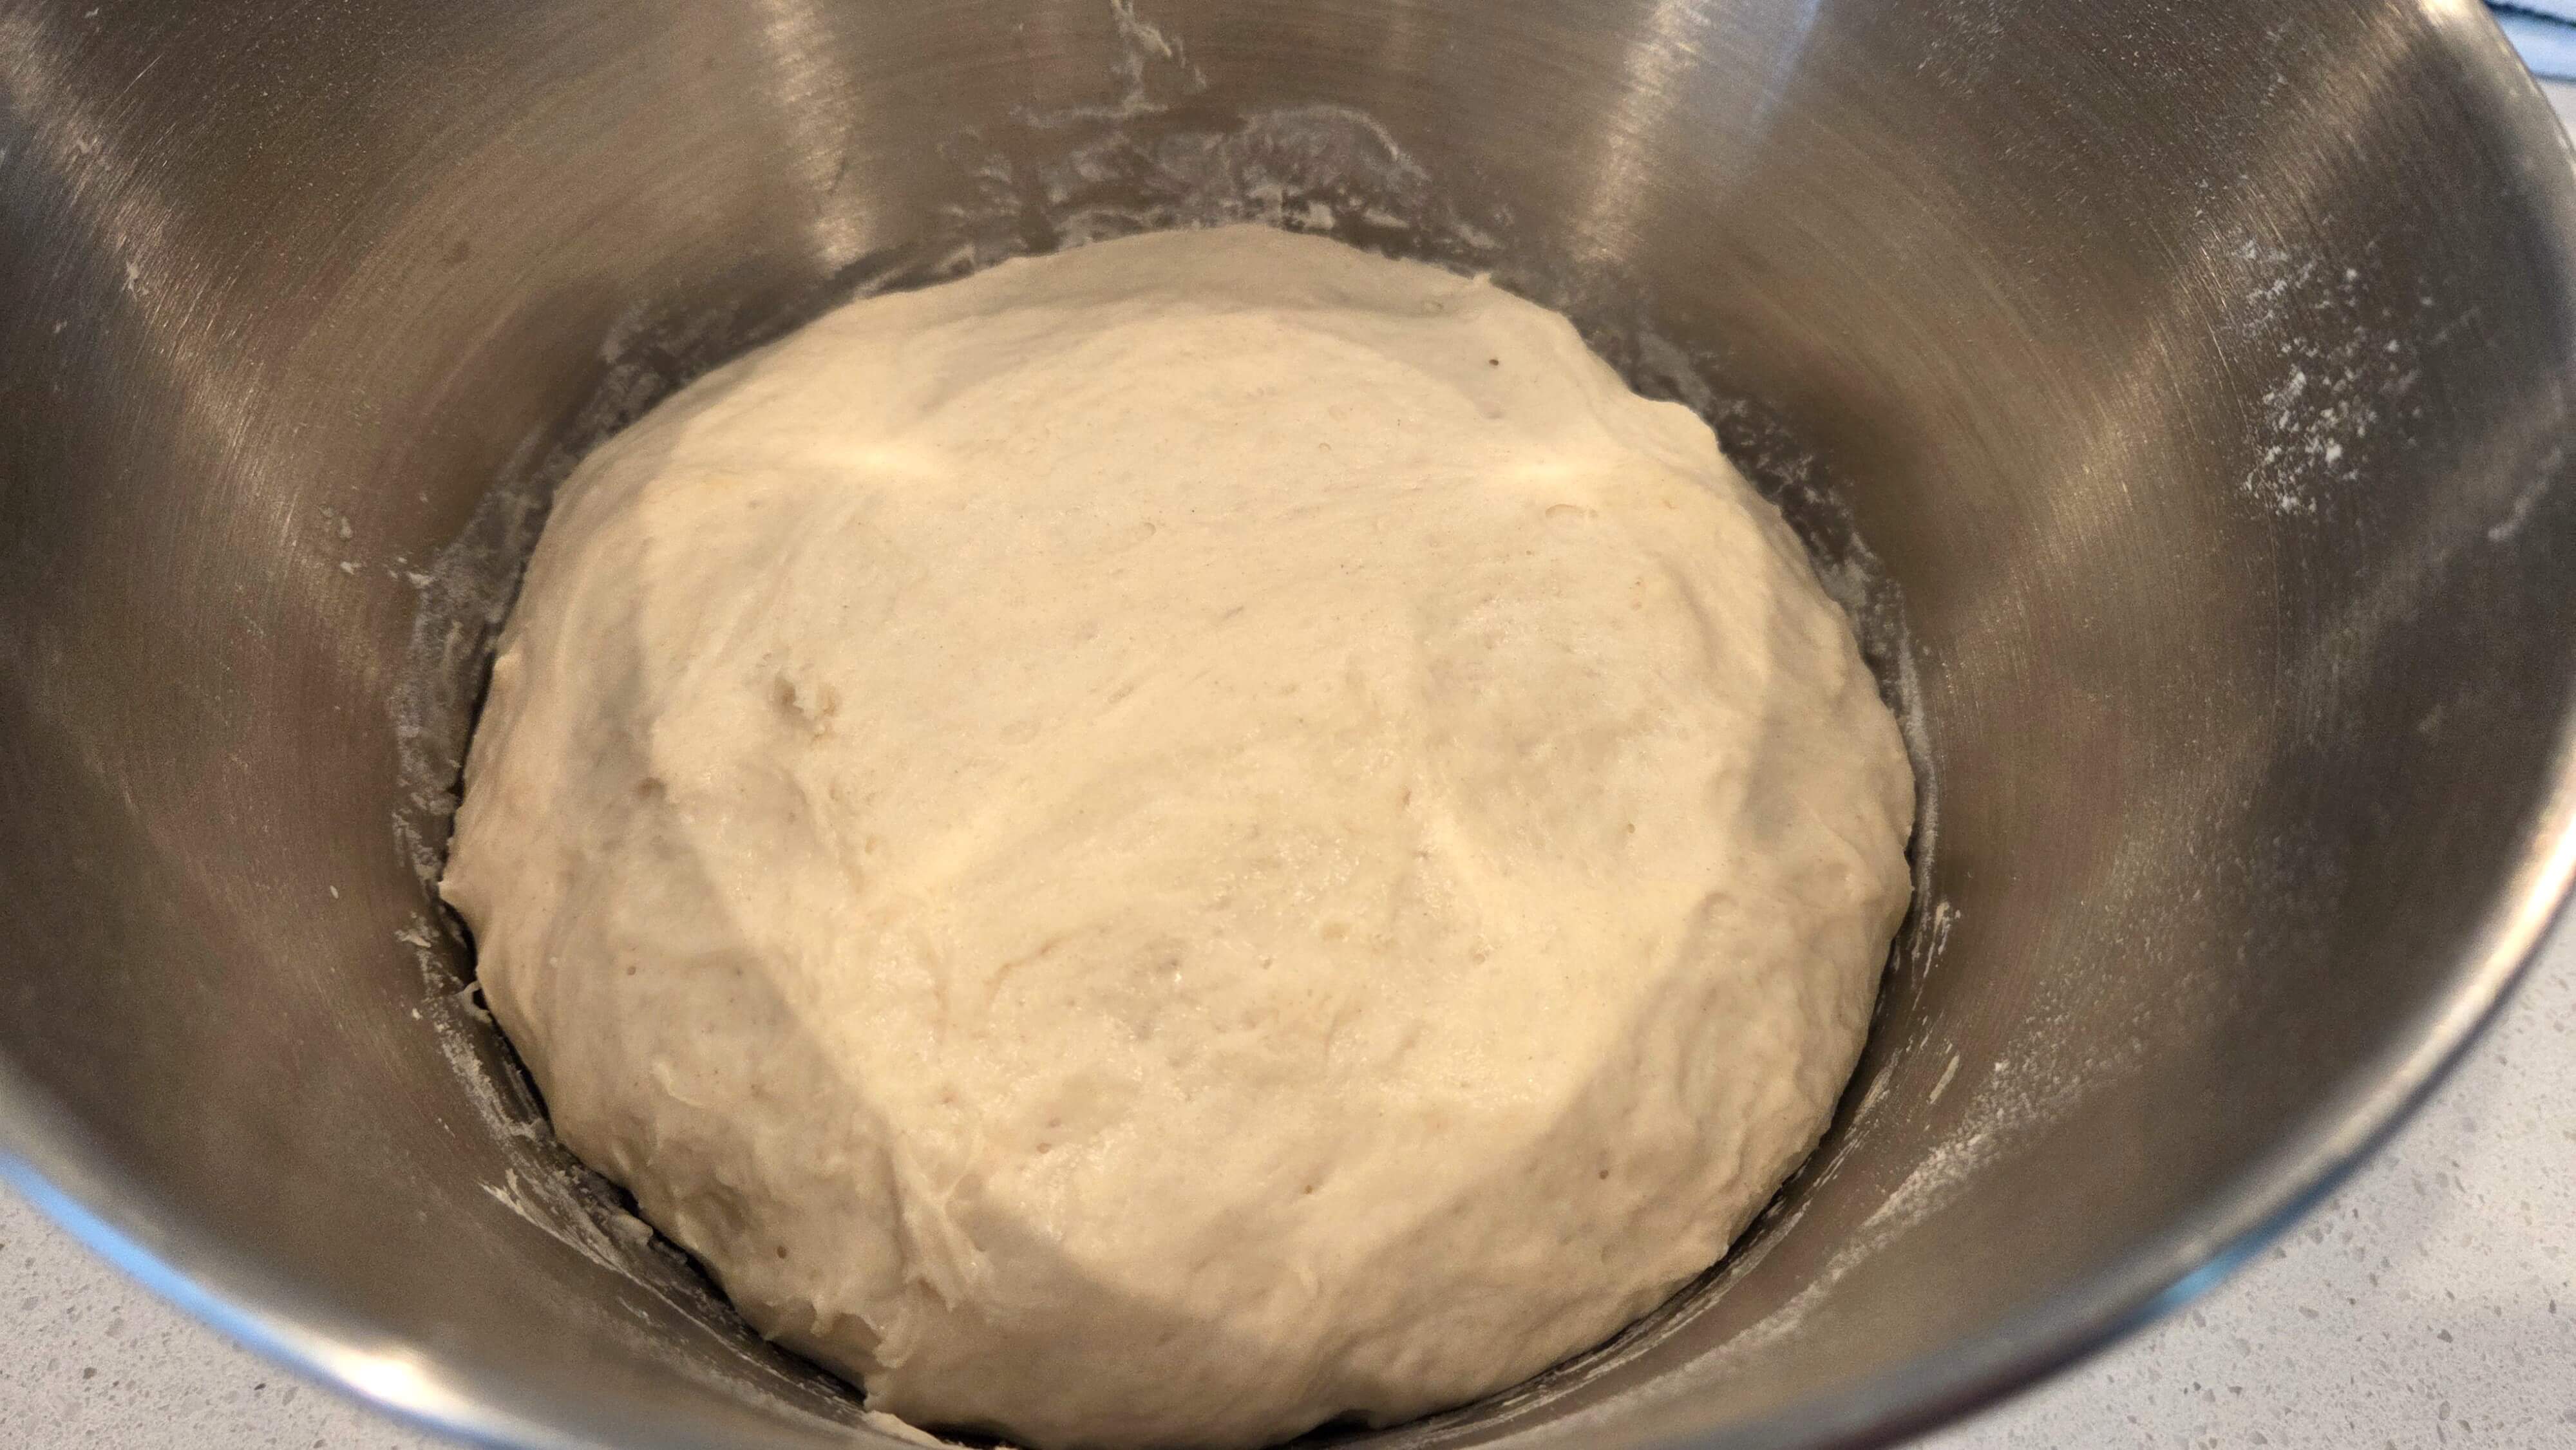
- Knead until smooth
Lightly flour your work surface and transfer the dough to the counter. Knead it by hand for about 5 minutes, or use a stand mixer with a dough hook for about 3 minutes, until the dough becomes smooth, elastic, and slightly tacky.
You don’t need to add a lot of extra flour. A slightly soft dough will help keep the finished pita tender.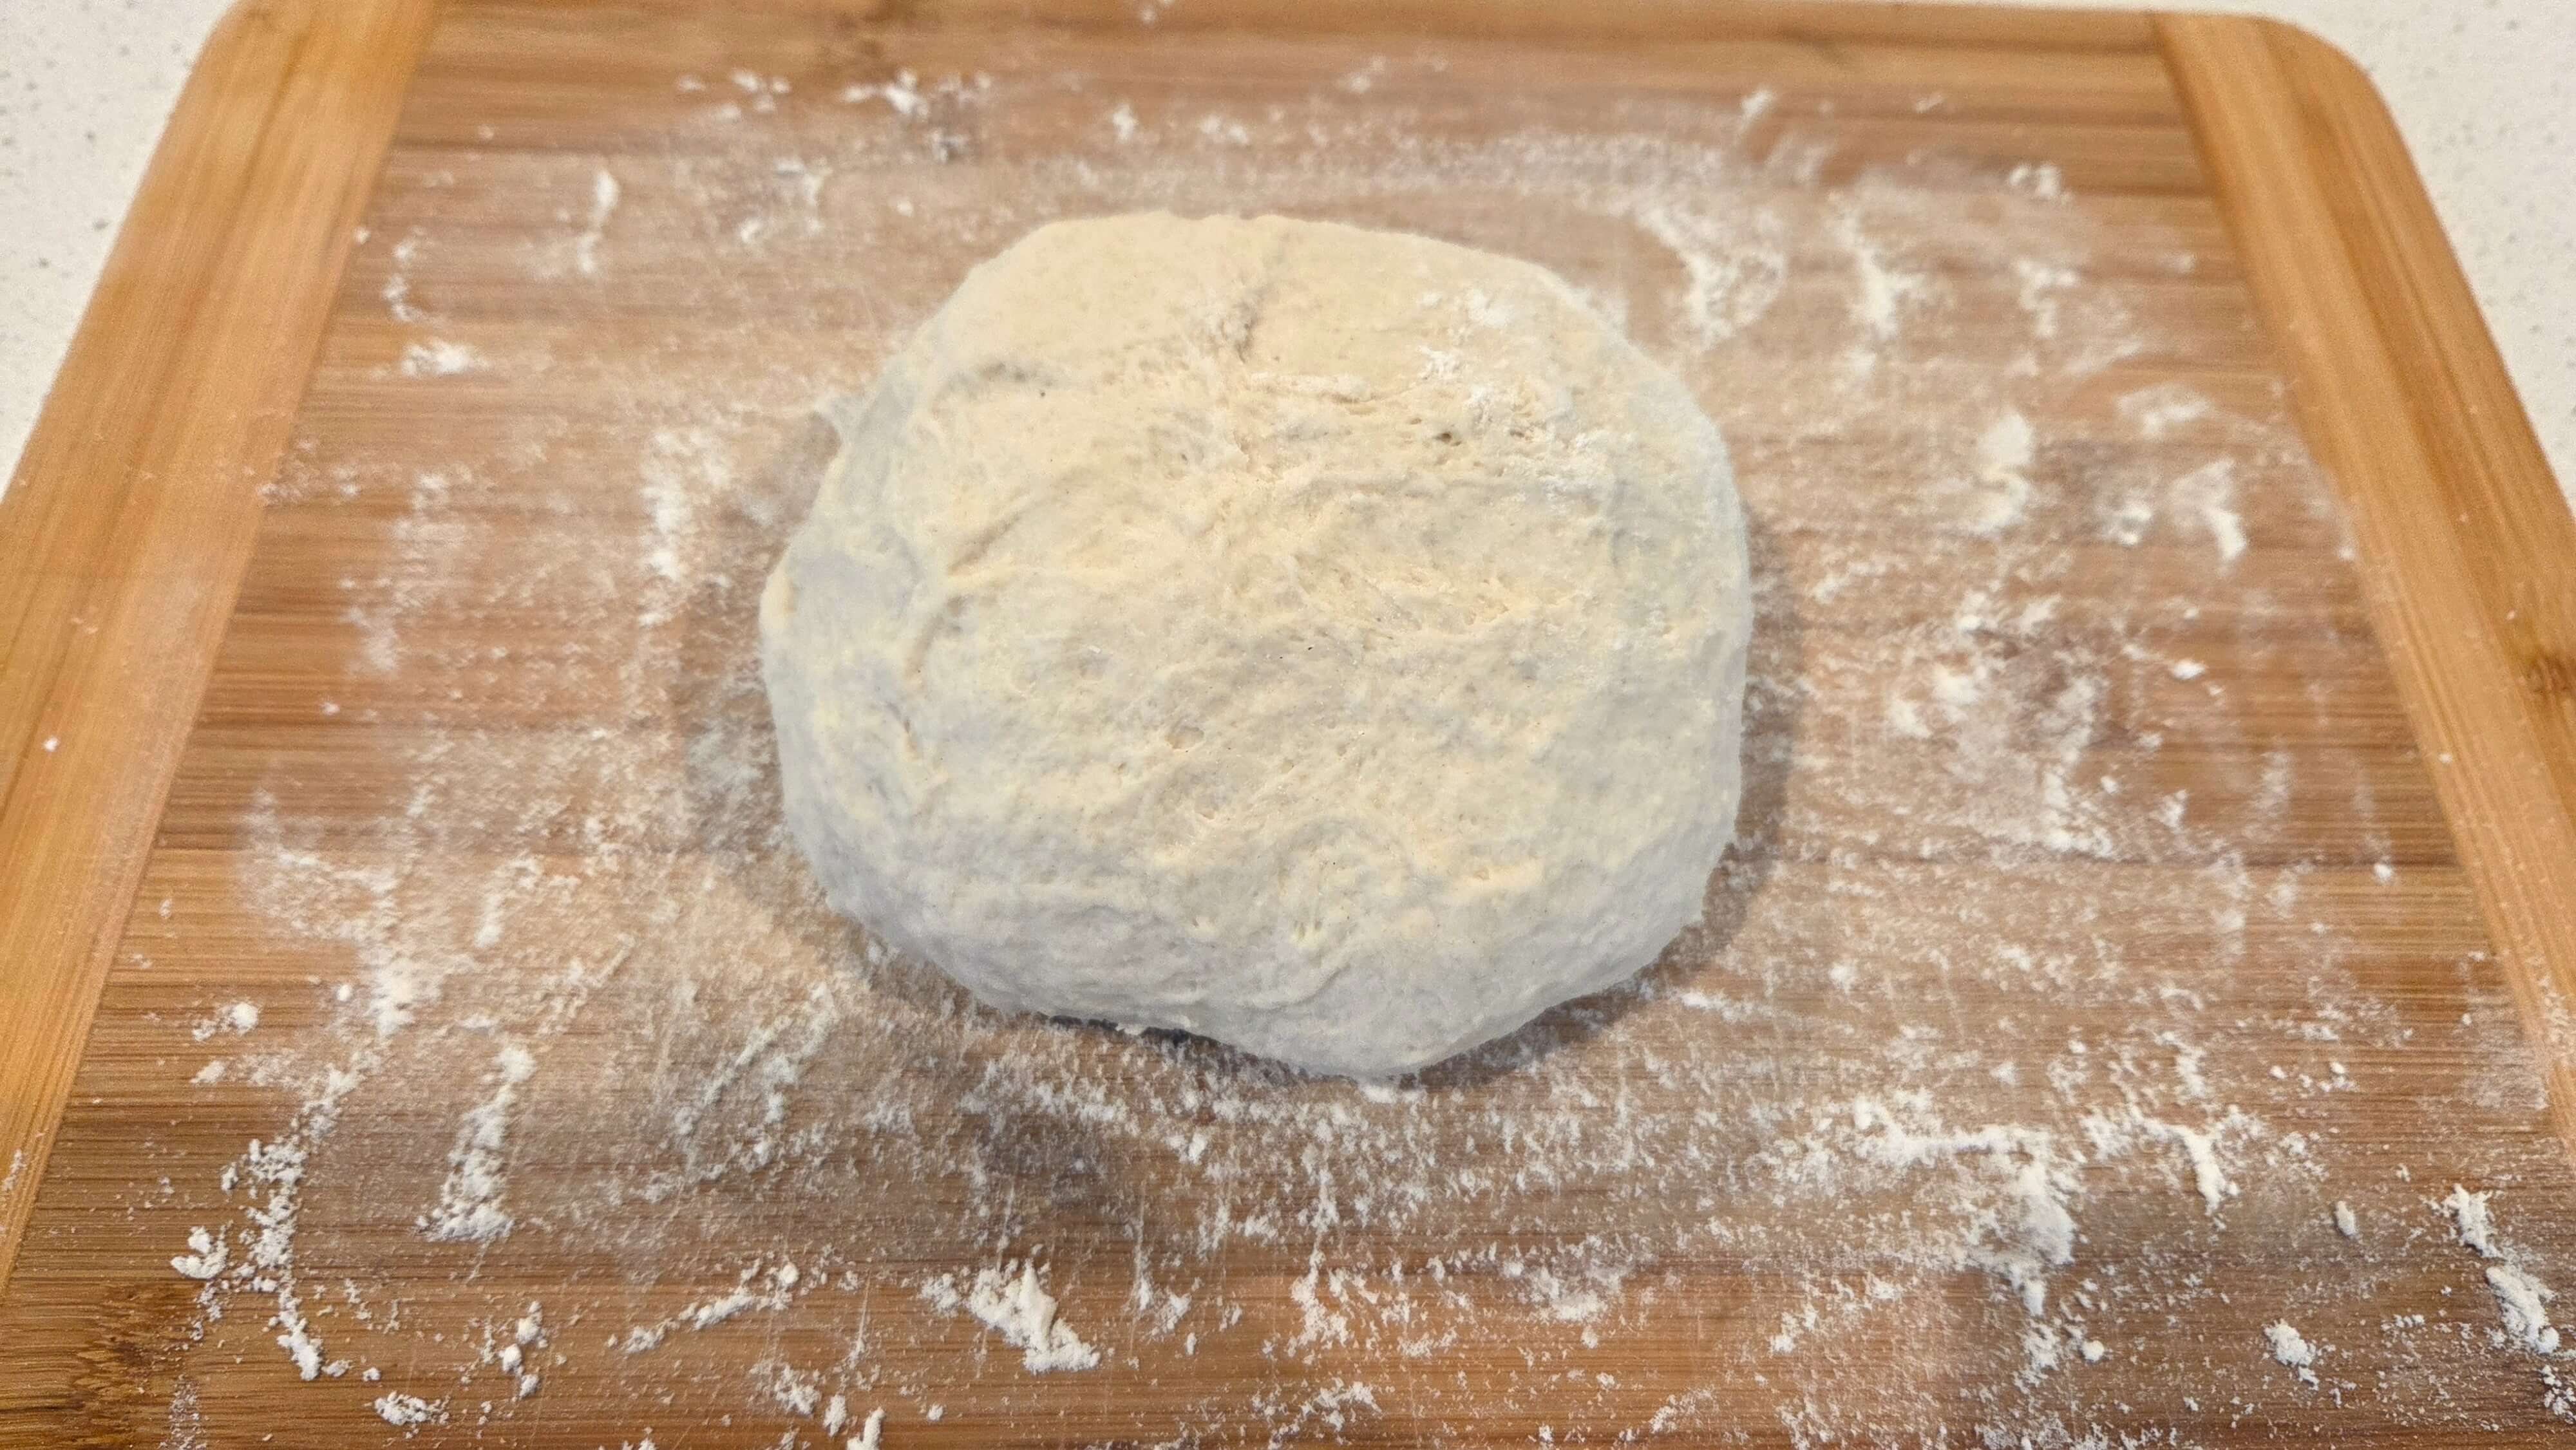
- Divide and roll the dough
Divide the dough into 8 equal pieces and shape each piece into a smooth ball. Using a rolling pin, roll each ball into a circle about ¼-inch thick.
Try to keep the thickness as even as possible. Dough that is rolled too thin may not puff properly, while uneven thickness can cause the pita to cook unevenly.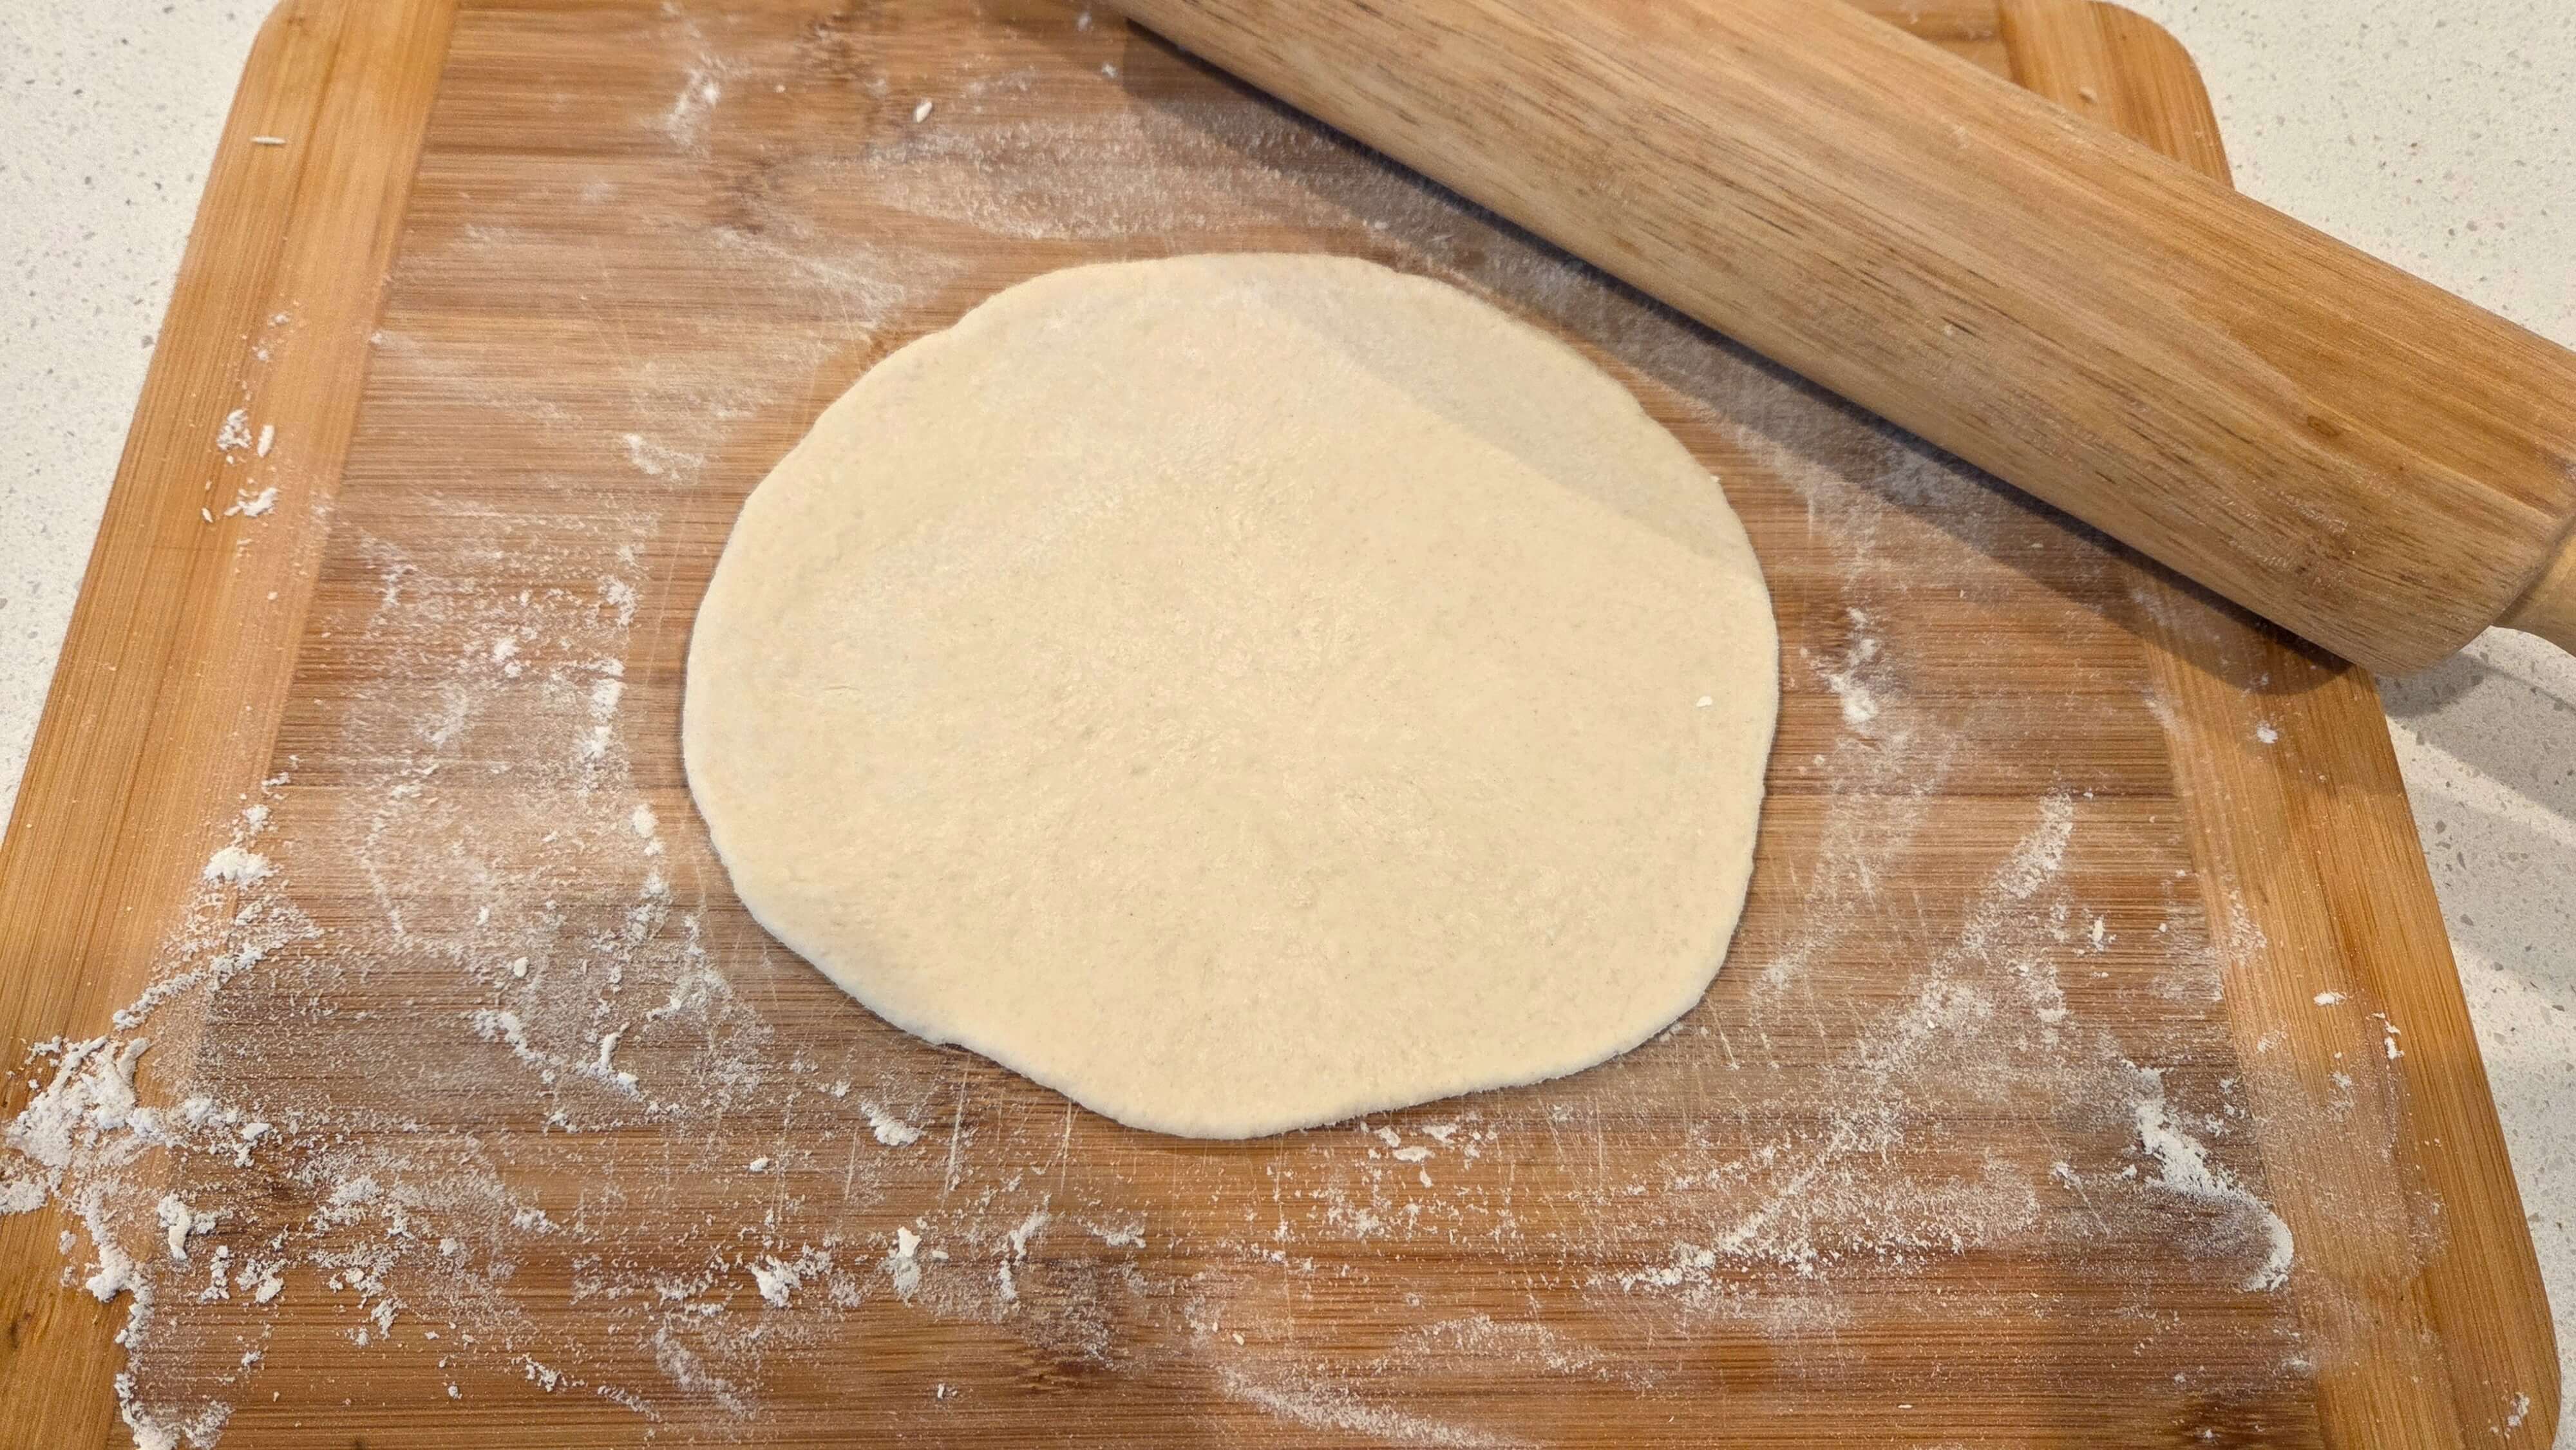
- Cook the pita in a hot skillet
Heat a dry cast-iron skillet or heavy pan over medium-high heat. Once the pan is properly heated, place one dough circle in the skillet.
Cook for about 1 minute, or until bubbles begin to appear on the surface. Flip the pita and continue cooking for another 1–2 minutes, watching for it to puff and develop light golden spots.
Transfer the cooked pita to a clean kitchen towel and cover it while you cook the remaining pieces. Keeping the pita covered helps retain moisture and keeps the bread soft.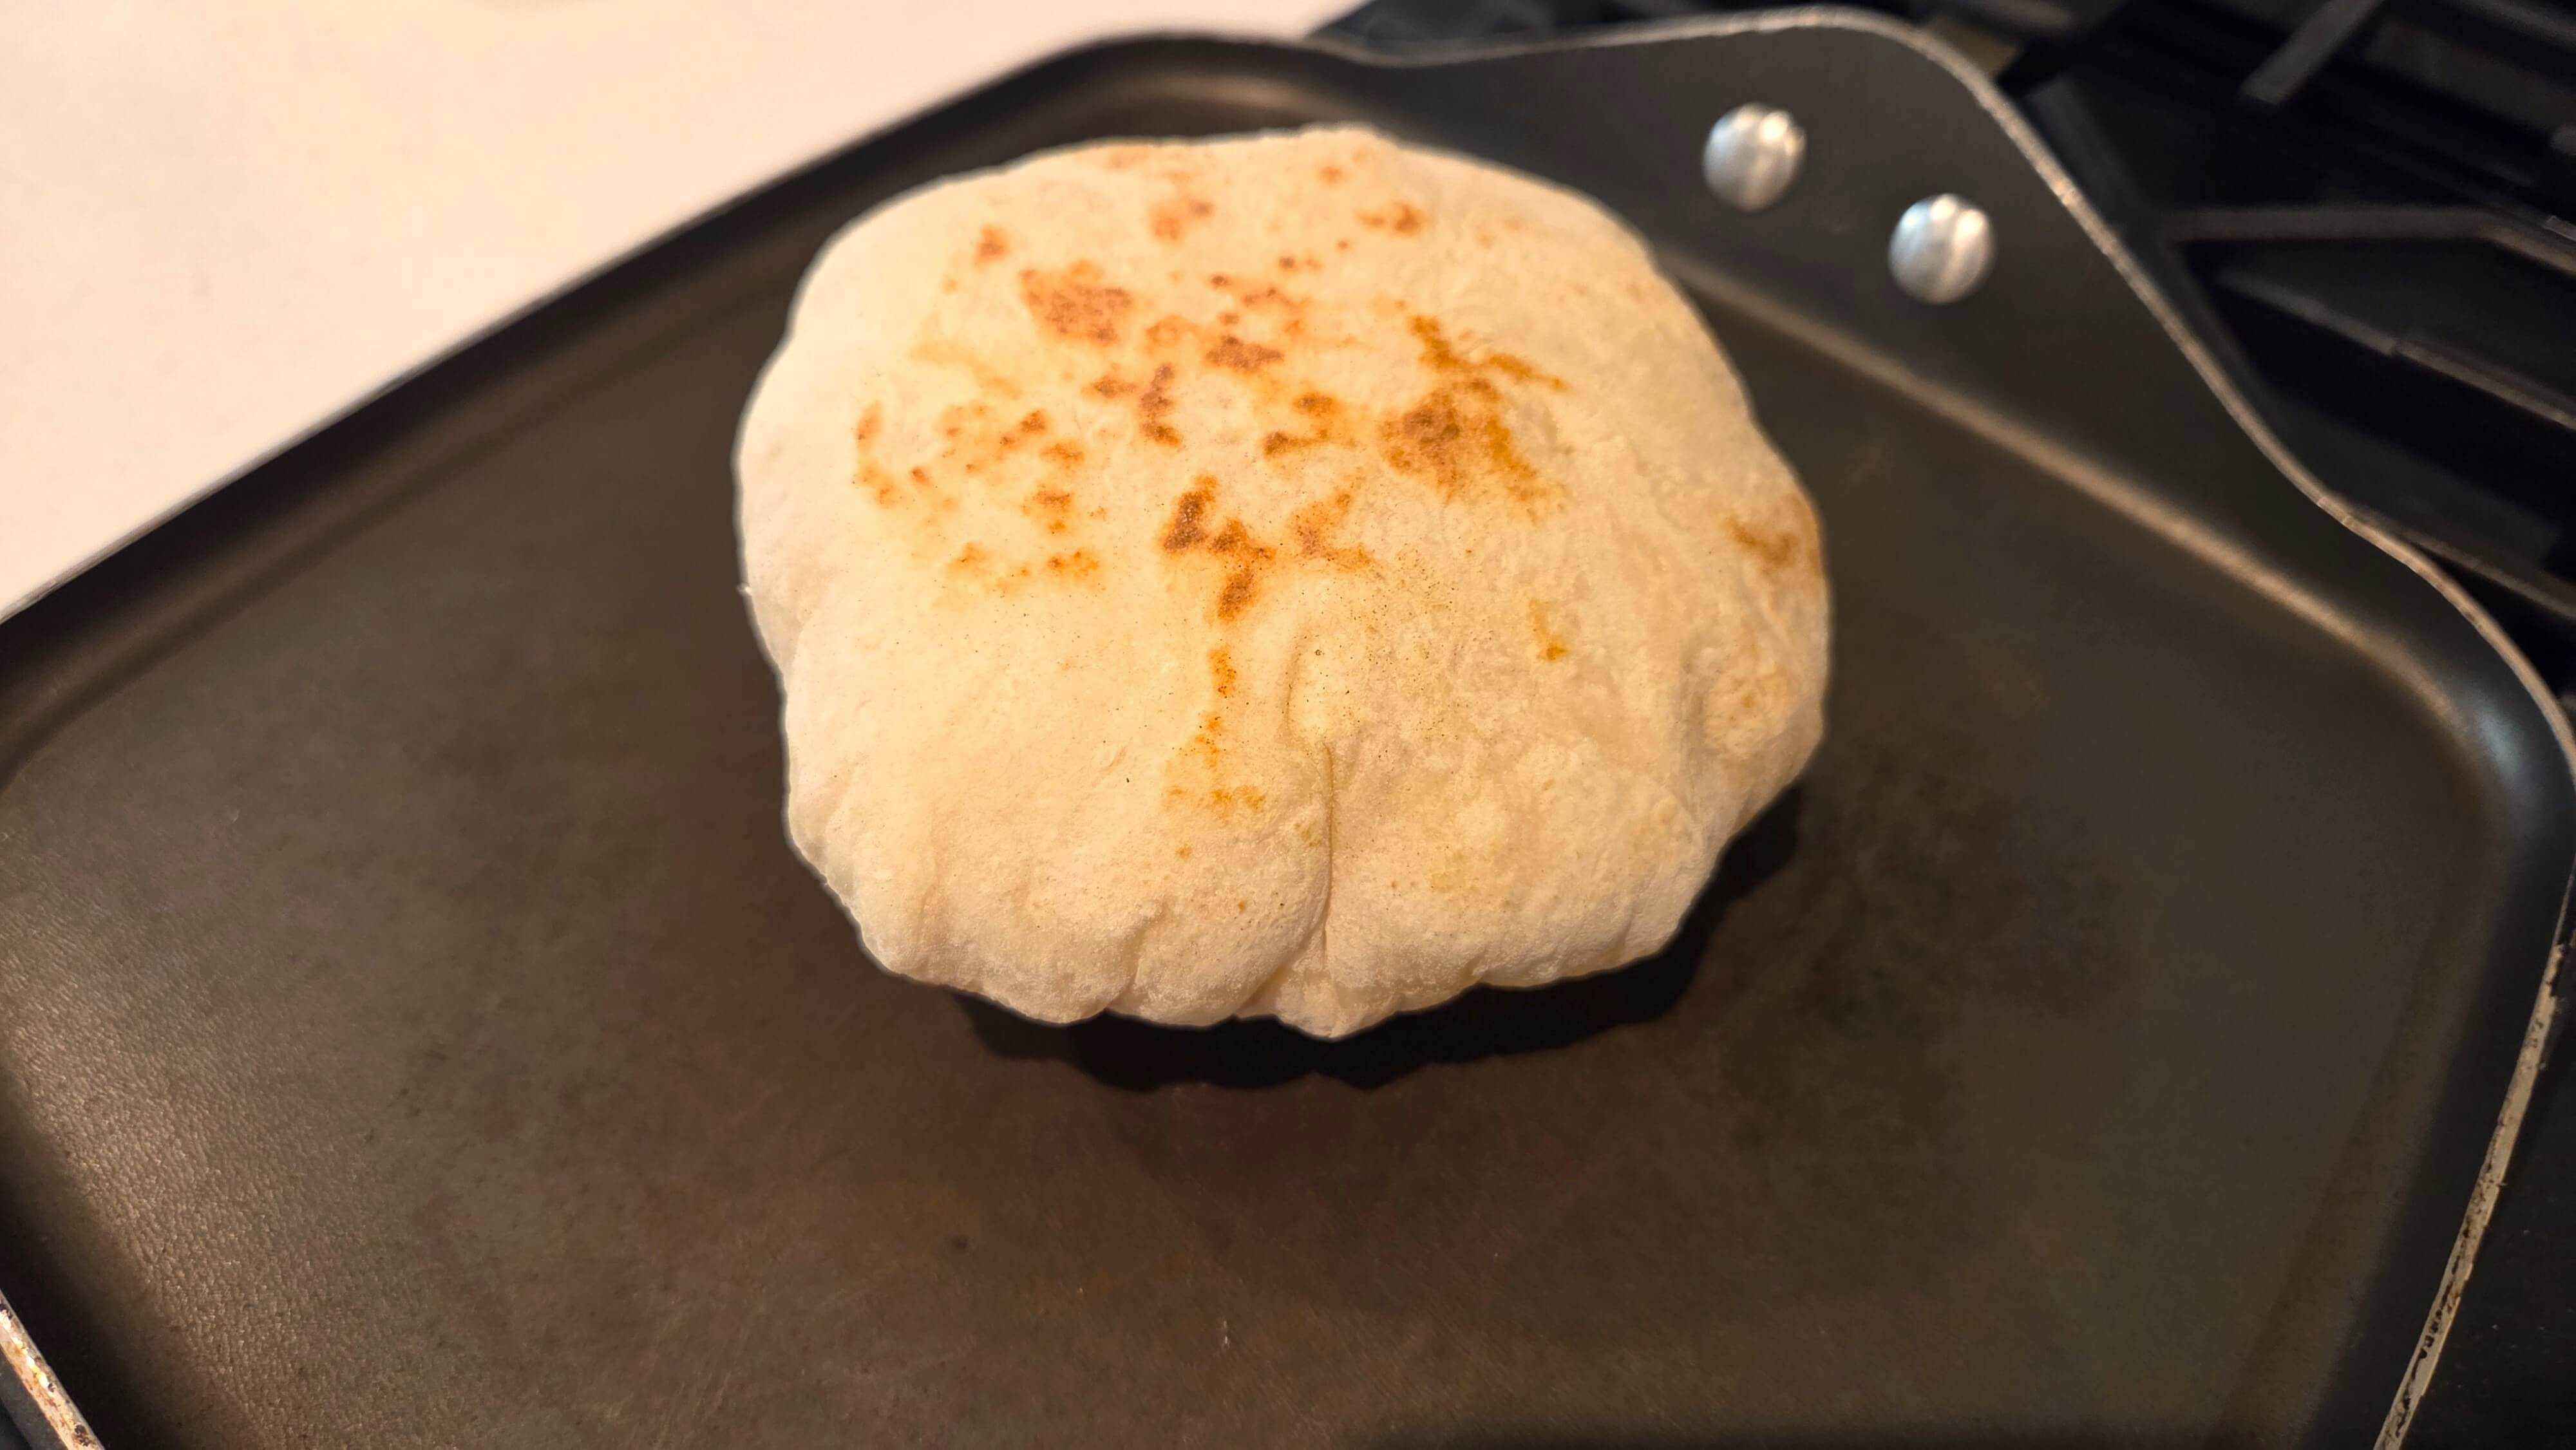
My Top Secrets for Perfect Stovetop Pita Bread
After making this pita regularly, I’ve found that a few small details make a big difference in how well the bread puffs and how soft it stays. Keep these simple tips in mind for tender, pocket-style pita from your skillet.
- Preheat your skillet properly: A properly heated cast-iron skillet, carbon steel pan, or heavy griddle helps the dough cook quickly and encourages steam to build inside the pita. Let the pan heat over medium-high heat before adding your first dough circle. If the pita takes too long to develop bubbles, your pan may not be hot enough.
- Keep the dough an even thickness: Roll each piece to about ¼-inch thick and try to keep the center and edges fairly even. If the dough is rolled too thin, it may cook before enough steam builds to create a pocket.
- Handle the dough gently: Try not to tear or poke the rolled dough before it reaches the skillet. Small holes can allow steam to escape, making it harder for the pita to puff.
- Keep cooked pita covered: As each pita comes off the skillet, place it inside a clean kitchen towel and cover it while you cook the rest. The warmth and moisture help keep the bread soft and pliable instead of letting it dry out.
- Don’t press down on the pita while it cooks: Give the dough room to puff naturally. If you constantly press it against the skillet, you can interfere with the steam pocket forming inside.
What to Serve with Stovetop Pita Bread
In Egypt, warm pita is a favorite at breakfast and mealtimes, and there are so many delicious ways to enjoy it. The soft, freshly cooked bread is perfect for scooping up creamy dips, filling with savory ingredients, or serving alongside hearty soups and stews.
Here are some of my favorite Egyptian and Mediterranean pairings:
- Creamy dips and spreads: Tear the warm pita into pieces and use it to scoop up homemade hummus, roasted eggplant baba ganoush, or a simple mixture of extra virgin olive oil and za’atar.
- Egyptian breakfast favorites: Fill the pita with Egyptian ful medames, crispy Egyptian Falafel (Ta’ameya), or Egyptian Fried Cauliflower. Add tahini sauce, fresh vegetables, or pickles for a filling breakfast or light meal.
- Grilled meats and kebabs: Use the pita as a soft wrap for Middle Eastern Chicken Kebabs (Shish Tawook) or Egyptian Kofta Kebabs. Add sliced tomatoes, onions, parsley, and tahini for an easy homemade wrap.
- Soups and stews: Warm pita is also delicious alongside Egyptian Lentil Soup or a comforting bowl of Egyptian Molokhia. Tear off a piece and use it to scoop up the flavorful broth and vegetables.
How to Store and Reheat Your Stovetop Pita Bread
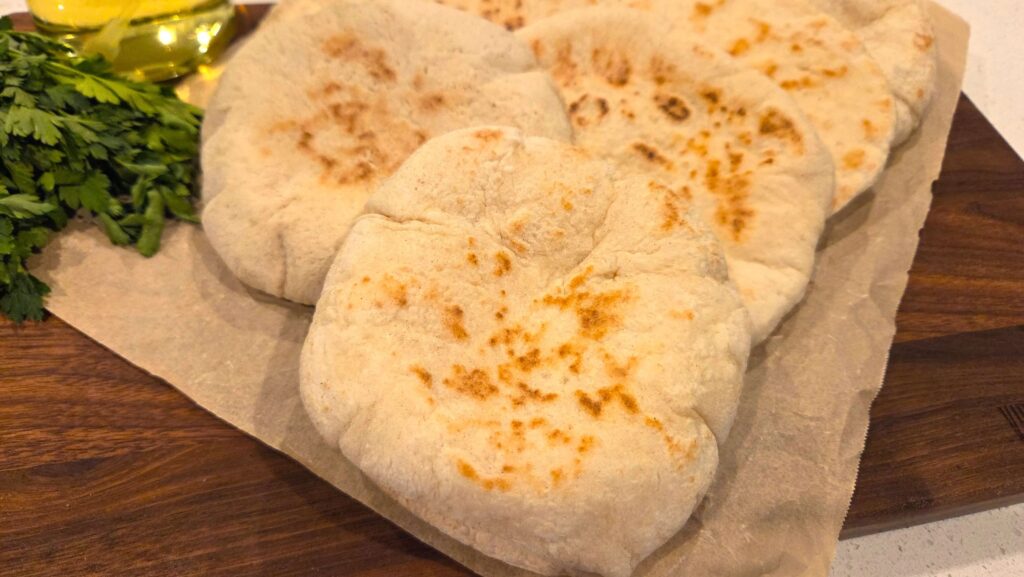
Homemade pita is best when it’s fresh, but you can easily store the leftovers for another meal. Keep the pita sealed well to prevent it from drying out, and freeze any bread you won’t use within a couple of days.
- Store at room temperature: Let the cooked pita cool completely, then place it in an airtight zip-top bag or airtight container. Keep it at room temperature and use within 1–2 days for the best texture. Avoid leaving the pita uncovered, as it can dry out quickly.
- Freeze for longer storage: If you want to keep the pita longer, place a piece of parchment paper between the breads so they don’t stick together. Transfer them to a freezer-safe bag, press out as much excess air as possible, and freeze for up to 2 months for the best quality.
- Reheat in a skillet: For soft, warm pita, place it in a dry skillet over medium heat for about 30 seconds per side. If the pita is frozen, let it thaw first or warm it gently until heated through.
- Reheat in the microwave: Place one pita on a microwave-safe plate and cover it with a slightly damp paper towel. Microwave in 10–15 second intervals until warm and soft. Avoid overheating, which can make the bread chewy or tough.
Frequently Asked Questions
Making pita on the stovetop for the first time? Here are answers to some of the most common questions about getting the dough, skillet, and puffing just right.
The most common reasons are an underheated skillet, uneven dough thickness, or small tears in the rolled dough. Make sure your skillet is properly preheated before adding the pita, and roll the dough evenly to about ¼-inch thick. Handle the dough gently so you don’t create holes where steam can escape.
Yes. You can substitute active dry yeast for the instant yeast in this recipe. For best results, dissolve the yeast in the warm water and let it sit for about 5–10 minutes before mixing it with the flour. The water should be warm, not hot.
No. This pita is cooked in a dry skillet, so you don’t need oil, butter, or cooking spray. A properly preheated cast-iron skillet, carbon steel pan, or heavy griddle provides the direct heat needed to cook and puff the dough.
Yes. You can replace up to half of the all-purpose flour with whole wheat flour. Because whole wheat flour absorbs more water and contains bran, the dough may feel heavier and the finished pita may not puff quite as dramatically as pita made entirely with all-purpose flour.
Yes. You can make the pita ahead and store it in an airtight container or zip-top bag at room temperature for 1–2 days. For longer storage, freeze the cooled pita with parchment paper between the breads for up to 2 months. Reheat it gently in a dry skillet until warm and soft.
Place each freshly cooked pita inside a clean kitchen towel as soon as it comes off the skillet. Once completely cool, store the pita in an airtight bag or container to prevent it from drying out.
Overworking the dough, adding too much extra flour, rolling the pita too thin, or overcooking it can make the bread tougher. Keep the dough slightly soft, use only enough flour to prevent sticking, and remove the pita from the skillet as soon as it is cooked and lightly browned.
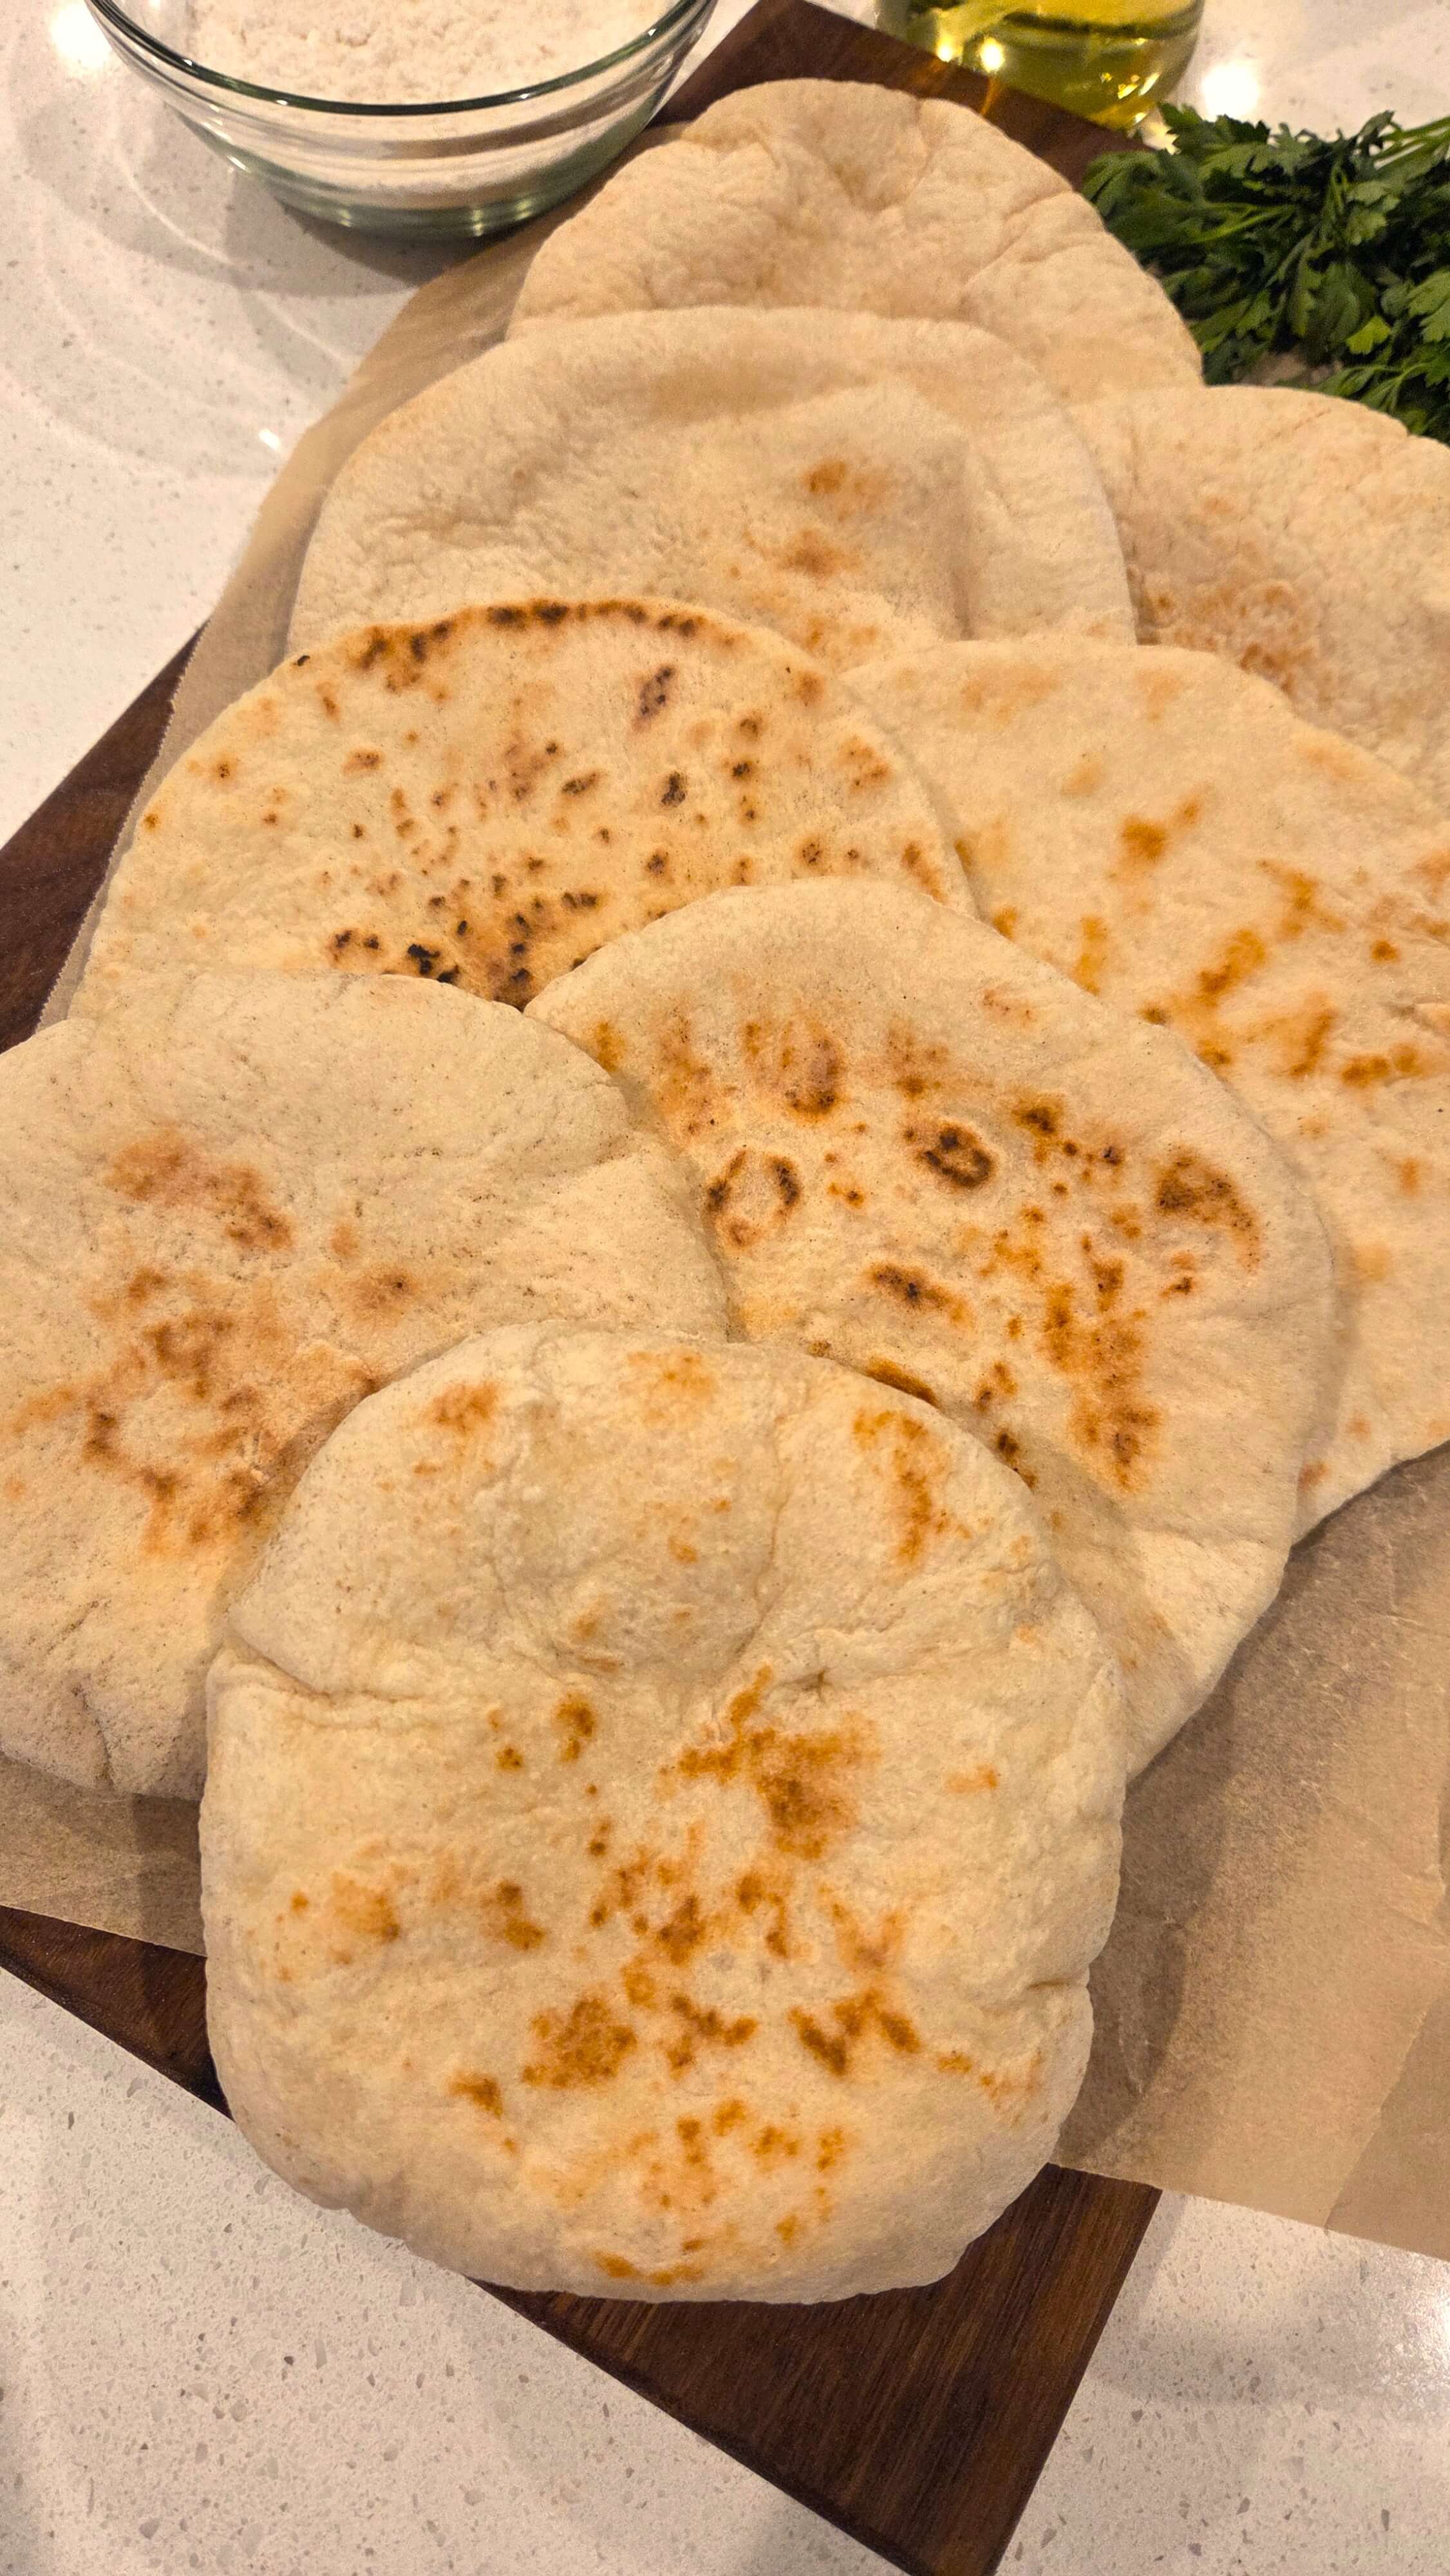
Ready to make this soft, fluffy pita right on your stovetop? The recipe card below has all the exact measurements and cooking times you need. Then all that’s left is to warm up your skillet and enjoy that fresh-baked Egyptian-style bread with your favorite dips, falafel, or kofta.
Easy Pita Bread Recipe No Oven
Ingredients
Method
- Mix the dough: Combine the flour, instant yeast, and optional salt in a large bowl. Add the warm water and stir until a soft, shaggy dough forms.
- Rest the dough: Cover the bowl and let the dough rest for 15 minutes.
- Knead: Transfer the dough to a lightly floured surface and knead for about 5 minutes, until smooth, elastic, and slightly tacky.
- Divide and roll: Divide the dough into 8 equal pieces and shape each into a ball. Roll each ball into a roughly 6-inch circle about ¼-inch thick.
- Cook: Heat a dry cast-iron skillet or heavy griddle over medium-high heat. Cook each pita for about 1 minute, until bubbles form, then flip and cook for another 1–2 minutes until puffed. Immediately wrap the hot pita in a clean kitchen towel.
Video
Notes
- Choosing Your Yeast: This recipe uses instant dry yeast, which can be mixed directly with the flour without proofing. If you are using active dry yeast, I recommend dissolving it in the warm water for about 5 minutes before adding it to the flour.
- Choose a Heavy Skillet: A cast-iron skillet, carbon steel pan, or heavy griddle helps maintain steady heat while the pita cooks. This consistent heat is important for creating the steam that makes the dough puff into a pocket.
- Why Didn’t My Pita Puff? A pita needs enough heat and a well-sealed surface to trap steam. If your dough has small tears or holes, steam can escape before the pocket forms. Make sure you roll the dough evenly without making it too thin, and cook it on a properly preheated skillet. If a small hole appears while cooking, gently press around the area with a flat spatula to encourage the pita to puff.
- Want an Egyptian Aish Baladi-Style Finish? For a more rustic Egyptian-style pita, try dusting your rolling surface with fine wheat bran (radda) instead of flour. The bran gives the bread a slightly textured finish and adds the traditional look associated with Egyptian baladi bread.
I hope this stovetop pita recipe makes homemade bread feel a little easier and more approachable. There’s nothing quite like opening a warm, freshly cooked pita and filling it with Egyptian falafel, creamy hummus, ful medames, or your favorite grilled meats.
If you make these pita breads, leave a comment and star rating below and tell me how they turned out. I’d also love to hear what you filled your pita pockets with!
If you enjoyed this recipe, save it for the next time you want fresh homemade bread without turning on the oven, and share it with someone who loves easy Egyptian and Mediterranean cooking.
⭐ Loved this recipe? Please leave a rating in the recipe card and share how your pita turned out in the comments!
More Recipes to Try
- Peach Feta Salad with Walnuts
- Authentic Egyptian Fattah
- Authentic Egyptian Moussaka with Ground Beef
- Mediterranean Pan Seared Tilapia
- Egyptian Ful Medames

- Easy Baked Sweet Potatoes
Very easy recipe 👍 bread came out soft and puffed perfectly 👌 i guess i will be making more bread often now 🤣